• Sunday, February 21st, 2010
I haven’t worked on a Podocarpus ever since I displayed one at Epcot 3 years ago. Alothough I have been trying to find a replacement for that one in my collection I have had a hard time finding good material to work on. Last year I found this one at Mike Rogers’ Nursery and had to have it. Over tha past year though, I have lost a lot of upper branches and now it turns out that the entire top is dead.

Podocarpus Pre-Bonsai
But deadwood means a great carving project to address in the future of this tree. I already have an idea of what I want to do. I need to establish the branches and structure of this tree first. First things first, let’s get that tree out of the nursery pot and into some bonsai soil to give this tree a kick start.
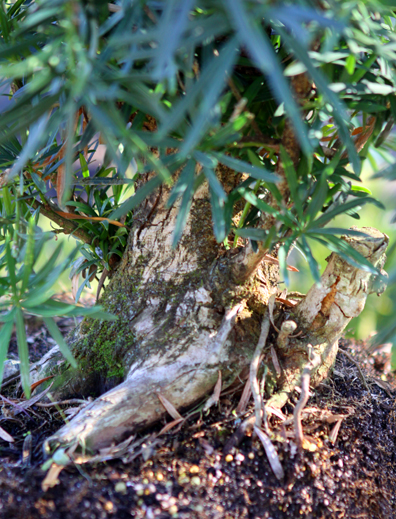
Upclose look at the trunk and nebari
The base of this trunk is wonderful, lots of different fronts to the tree so plenty of options for development.

Prior to root pruning
The roots of this tree weren’t great, but at least I didn’t need to prune much off to get it into this bonsai pot. The soil mix was also pretty poor for drainage, too much sand. It will really flourish in my bonsai mix

Podocarpus initial potting
Well it doesn’t look much of a Bonsai at this point, but this years goals are simple. Get the tree to develop better roots, and put out new branches. I may get lucky and be able to chose a few branches, but the styling won’t occur until late this year or next year. Just need to keep it alive and happy.

 Share on Facebook
• Thursday, February 18th, 2010
This year’s winter in Florida has been the coldest one that I can remember. However one good thing is that it gave me a long time to do some major pruning, repotting, and even taking some photos. Here are just a couple of shots that I took recently.
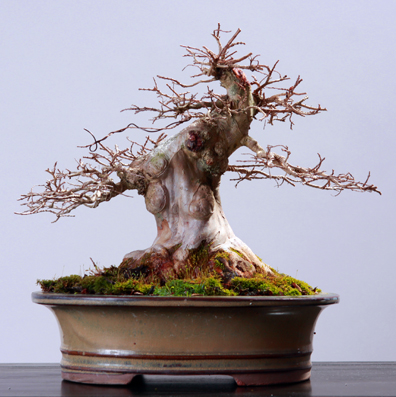
Crape Myrtle - defoliated
I can’t believe that it has been 5 years since the dwarf crape myrtle branches were grafted onto this wonderful crape myrtle trunk. However the development continues to improve. It has a great shape and balance. This year it should be the year for this tree to shine. In on a few weeks the tree will begin to leaf out and the canopy should be very full and complete. Who knows how much better this tree will be in 5 more years?
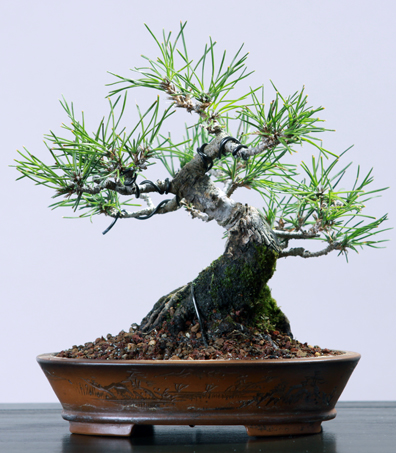
Black Pine repotted
I took advantage of the cold weather to repot this pine. I didn’t really remove much of the root mass, but it is a much more expensive pot. I still have a lot of branch development to do on this tree, but it already has developed very well already. Next year we’ll try a smaller pot to show off this large base of this tree.

 Share on Facebook
• Tuesday, February 16th, 2010
Well the carving is done, and the tree’s dead wood has been removed. The wounds were deep in some areas, but for the most part an easy process. Although these wounds are really big in some areas, the tree itself is huge and the growth should cover over easily.
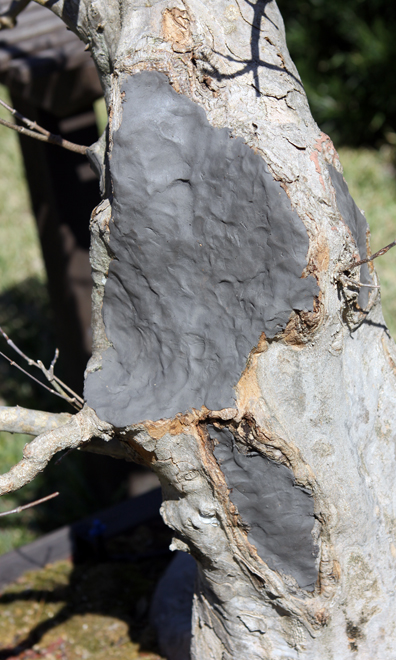
Main Branch with cut paste
The first branch section was the worst of the problem areas. Additionally two wounds were close to one another so as the carving was done they nearly touched. The cut paste I use is made for non conifers and will stay on the wound until the cambium pushes it off. I can’t stress how well this stuff works or how seriously needed this type of covering is. It will give this tree the best chance of healing by using this cut paste shown here.

Cut near top of tree
This area was starting to heal, but I needed to round off the cut so that the cambium would continue to cover over. I’ll provide more pictures later as the healing continues.

 Share on Facebook
• Friday, February 12th, 2010
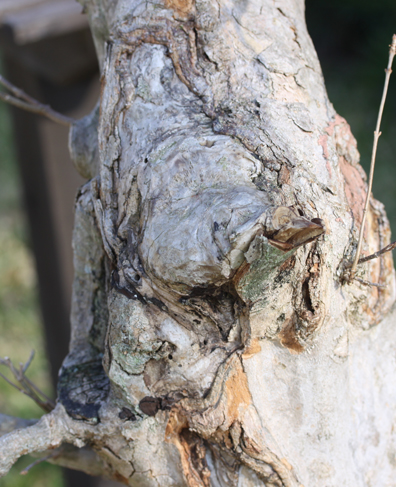
There have been some problem areas on my large trident maple for a while. There were very large cuts made on this tree and insects seem to have the situation worse. I need to clean these wounds to help the healing process. These are the main problem areas that I am talking about.

In this photo you can see to the right where the first branch was. The large scar had hindered its growth and weakened it. I am now growing a new branch so fixing this problem now is very important.
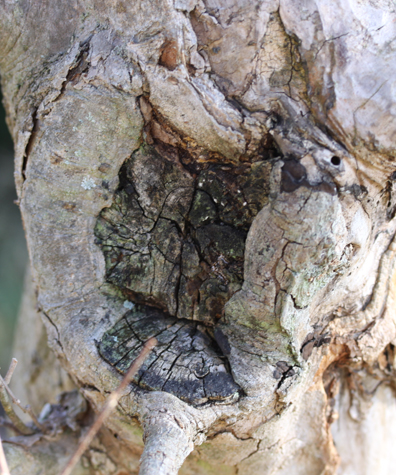
This scar is very old, and however is healing over, the dead wood is in bad shape. I want to clean this out as well so that the healing can finish up.

 Share on Facebook


