Blog Archives

Author:
• Wednesday, February 10th, 2010

Guy Guidry made a stop in Orlando last week for a workshop, and I couldn’t think of a better tree for him to help me with than my new bald cypress.  I’ve always seen it as a weeping style, but he made a few other options.
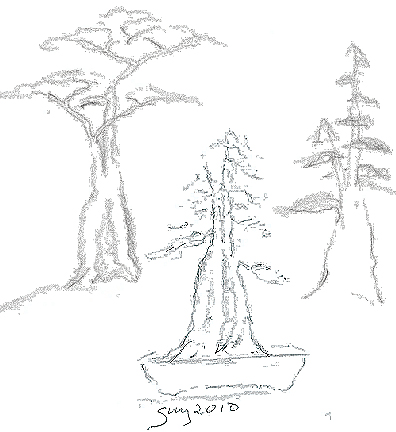
Guy Guidry sketches

Guy Guidry sketches

Everything from flat top to an extended twin trunk style.  However with a bit of pushing from Mike Rogers we went for the traditional Japanese Formal Upright (shown in the center drawing)

Guy Guidry & Mike Rogers

Guy Guidry & Mike Rogers

In oder to make this style, the main trunk needed to be shortened and smoothed.  Guy couldn’t wait to get the power tools going.  Here is a great shot of him working with Mike Rogers in the background.
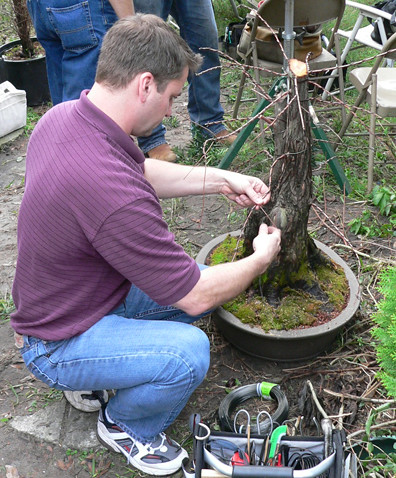
Paul Pikel wiring

Paul Pikel wiring

After removing about 4 inches from the top I started the wiring, and I have to admit I have been looking forward to doing this for months now.
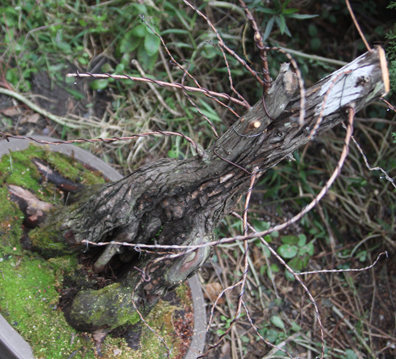
Wired bald cypress

Wired bald cypress

Here is the tree with all its branches wired.  I knew that not all the branches would remain but I wanted to get this done prior to styling the tree. 
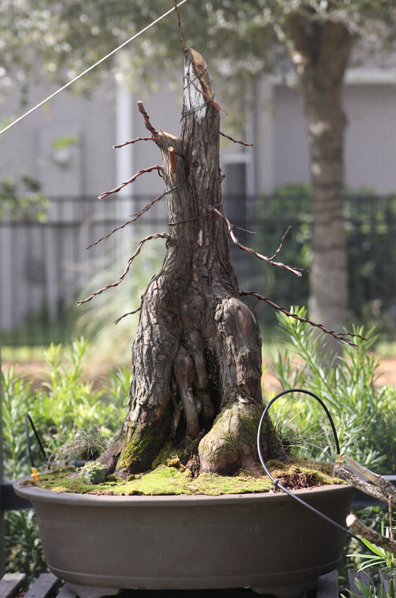
Initial styling

Initial styling

The tree looks great after its initial styling.  I have a rather big scar to heal over this year and to develop a top.  However this tree should be looking very good by next Winter


Author:
• Sunday, February 07th, 2010

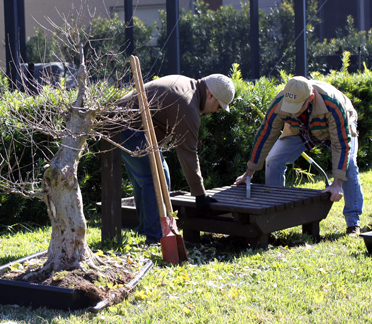
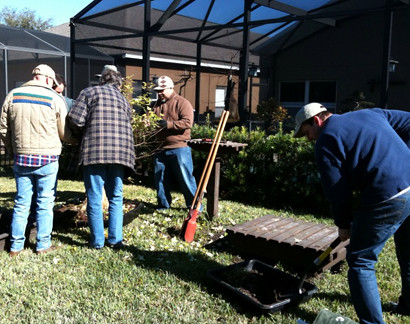
On a very cold day (for Florida) i was lucky enough to have the NoNaMe’ Bonsai Study group and Mike Rogers help me to move my large Trident Maple.  Altough it fit nicely where I had it, I found that it was too difficult to work on it.  So I decided to move it out into my yard for easy access.  The fact that the tree and bonsai pot weigh about 500 pounds I’m not worried about it walking away.

The first challange was to get the tree out of the pot and then move the components separately. 

Defoliating the Maple

Defoliating the Maple

 We moved the tree into a plastic tub so that it could be moved more easily.  Since the tree hadn’t dropped its leaves yet, the group helped the tree into dormancy by defoliating the tree.

setting the stand

setting the stand

The stand needed to be placed and leveled so that it would support the tree, and sit level.  Edwin and David are using a level to make sure we had a perfect stand.

Finishing touches

Finishing touches

I added some additional soil to stablize the stand while the rest of the group finished with the tree.

Combing the roots

Combing the roots

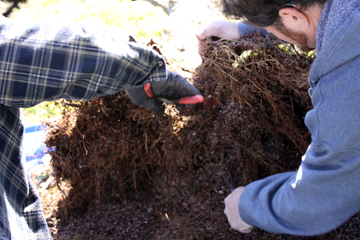
One last task was to comb out the roots.  I don’t know the next time I will repot this tree so we took advantage by working the roots prior to the repot.

Setting the Tree

Setting the Tree

The tree was then set in the pot (back towards the photo) and the soil was added.  The sun rises from the right side of the photo and sets behind to the left.  I am trying to develop my first branch and in order to maximize the sunlight we potted it facing this way.


Author:
• Saturday, January 02nd, 2010

Well actually the tree isn’t shrinking, just the bonsai pot that it is in.  Last year when I potted this tree up for the first time it went into a very large bonsai pot.  However because of the lack of roots close to the trunk I had no choice.  This year is a different story.

Bald Cypress ready for repotting

Bald Cypress ready for repotting

This tree put out so many new branches in all of the right spots.  I can’t wait to wire it out.  It is naturally weeping a bit, so that is how I plan to style it.  First I need to get it into a smaller pot.

New Bonsai pot comparison

New Bonsai pot comparison

As you can see the new pot is a great deal smaller.  I remember potting the tree last year and there were very big roots so this is going to be a very tight squeeze.

Great New Roots

Great New Roots

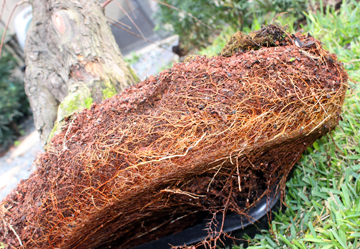
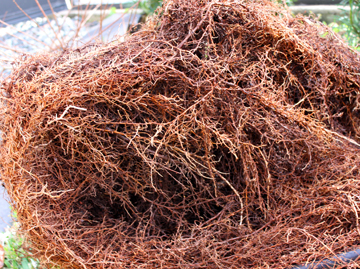
When I pulled the tree out of it’s current pot I was very happy to see these kinds of roots.  The tree thrived this past year and these roots are proof.  Also if you ever had a question about how well my bonsai mix works, now you know!!

Raked roots

Raked roots

After a quick rake the roots are now combed out, and the tree is ready for the new pot.

Too Big

Too Big

Okay, don’t panic!!!  This tree really is ver large and I knew this challange was coming.  There is some growth on the tips of the roots, but still there is plenty close to the trunk.  I’m pretty confident this will go in with some help.

Saws All to the rescue

Saws All to the rescue

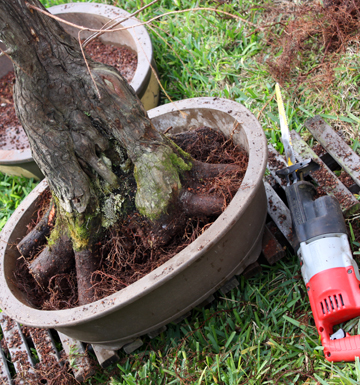
Of course when I said help I was referring to my Saws All.  I removed just enough of the roots to have a nice fit with a little room for new growth.  You can still see loads of roots remain.

Repotted Bald Cypress

Repotted Bald Cypress

Success!!!  The tree fit, and this combination pot and tree looks very good.  I have still some carving, wiring, styling, etc to perform but the hard work is done.  Now comes the fun!

Big Nebari

Big Nebari

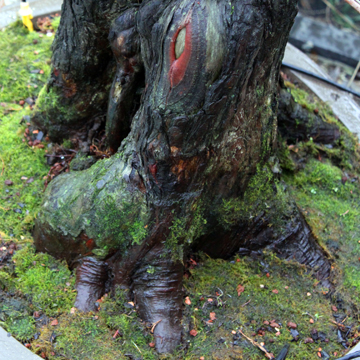
One last shot to show the nebari of the trunk.  The tree is sitting a little low in the pot on purpose to let the roots heal up.  Next year I’ll raise it up a bit more to really show the trunk spread.


Author:
• Saturday, November 14th, 2009

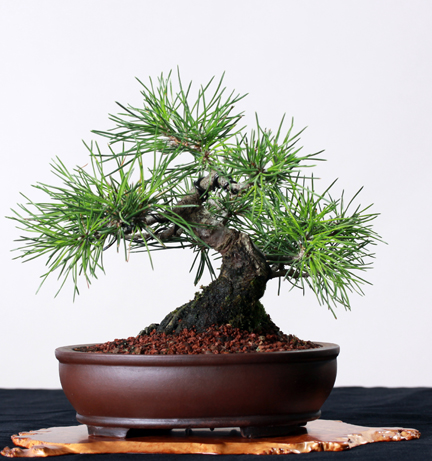
The Central Florida Bonsai Club’s program for November was, “How to Photograph Bonsai” and I got to do the photoshoot for the club.  I don’t know how many pictures I took, but it was pretty much non stop for hours.  While I was doing the photos I was able to slip in one of my trees. 

Shohin Blackpine

Shohin Blackpine