This is an event that I will certainly have to attend, and I am really sad I missed this one.
This is an event that I will certainly have to attend, and I am really sad I missed this one.
Trident Maples grow pretty well in Central Florida, but tend to have their leave fry a bit in late July through August. So last year (as you may remember) I defoliated my maples to allow for a second growing season. This causes the tree to put a brand new flush of leaves, slightly smaller in size, but more importantly able to handle the hot sun.
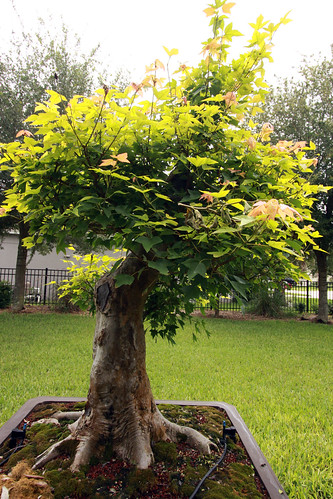
So this year I again spent about an hour removing each leaf by hand. There were certainly more leaves than last year, but the tree is looking great. Lots of scars are healing over and the ramification has improved greatly. I am hoping for a new first bottom branch to develop. Last year I had one pop, but it didn’t make it this Spring.
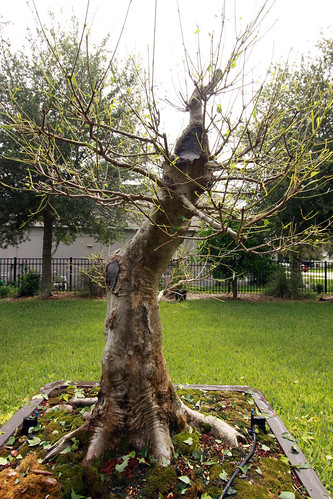
There are some trees that I don’t sometimes remember why I added them to my collection, but with a trunk like this one, I’ll never forget it. It just needs a couple more years to develop and it’s going to be awesome.
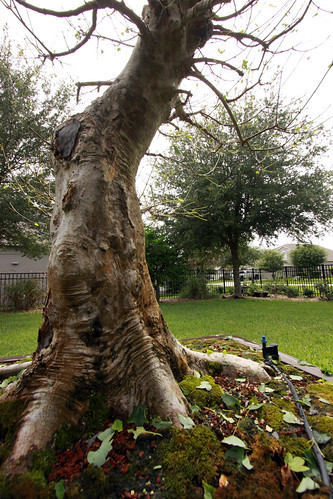 “>
“>
During the summer months there is a lot of talk about candles, especially since my Wife and I both have our birthdays in July. However Black Pines also have candles, and every Father’s Day it is time to remove the candles that grow during the year to keep the trees dense and full. However most people see where and when to cut candles, but I wanted to show WHY you cut them.
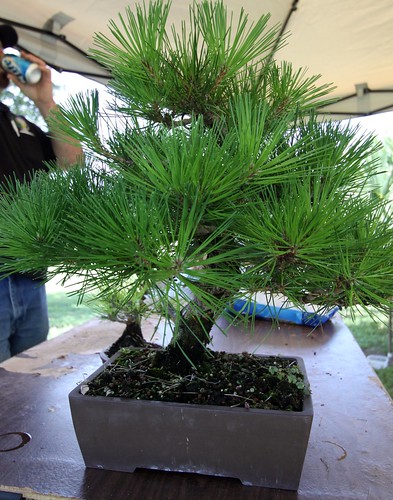
Two weeks ago I removed the candles from two of my trees. Since the candles are able to grow for about 5 months they grow to about 4 inches in length, and if left alone will in turn leave you with needles that are 4 inches. So by cutting the candles the tree only has three months left to grow new candles for the year. Shorter candles mean shorter needles.
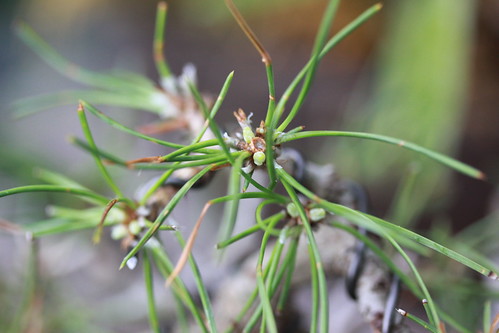
So after the two weeks the new candles are already popping out. As you can see they come out in sets of three so you will want to remove 1 or 2 of them. In most cases the strongest ones are removed.
So this past week I was asked by a friend to clean up a pair of shears that had been left out in the weather for quite a LONG time. When she showed them to me I could recognize by the outline that they had been at one time a pair of pruning shears, but those days were long ago. The rust was thick and very rough. However to my surprise the shears functioned quite well. I suppose it had something to do with the stainless steel rivet that was used to join the halves.
I said I would give it a try but couldn’t promise anything. I knew from the start I needed to remove the heavy rust to get the shears back to a smooth feel. I started by spraying WD-40 all over and allowed them to soak for about an hour. I then grabbed my Dremel tool with a sanding drum attachment and went to work. It was pretty hard, and the rust was coming off rather unevenly. In some spots the rust was still rough while in other I was down to bare metal. They looked rather horrible.
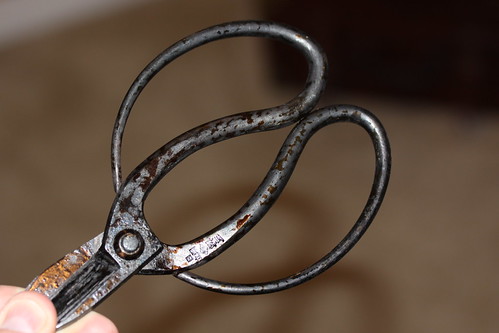
Once the rust was sanded down I took a piece of sand paper and hand sanded the tools to smooth them out a bit more. However again I couldn’t get an even finish, and the normal black finish was rubbing off. I remember that my wife would “season” her wok from time to time and that gave me an idea. I took vegetable oil and sprayed the tool with a thick coat and then put the shears onto my charcoal grill for about 45 minutes. In no time, the oil had turn an even flat black, and the actually created a rust resistant surface. They really looked great.
Keep in mind, you’re only trying to reduce the oil so that it adheres to the metal. Don’t get the heat too hot as to get the metal to glow. That is too hot. Remember slow and low…
In the picture you’ll see an orange coloring on some of the steel suface that looks like rust. However that is actually burnt oil. In time it will rub off and you will never know the tools were even rusted.