• Saturday, November 01st, 2008
I have been asked by a lot of people what tools are needed for bonsai. However that is not the easiest of questions to answer. Sure as the owner of the Orlando Bonsai Store I am always looking to make a sell, but depending on level of experience of the individual a sell isn’t needed. I always suggest to new people to bonsai to take it slow. Many tools that they most likely already own are enough to do the basic pruning, trimming, and maintenance of any entry level tree. So I recommend not just buying any and every tool that there is, and to focus on quality. BUY THE GOOD STUFF. In the long run it will pay for itselt by not having to buy the same tools over and over.
However once the bonsai artist begins to aquire more skills and learn more advanced techniques they will need tools specially designed for the bonsai artist in each of us.
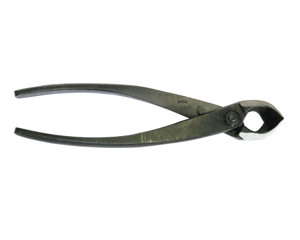
First and foremost is the concave cutter, This tool works like no other cutter in the lawn and garden center of any home improvement store. It is designed to remove the branch in a manor that allows for the natural healing of a tree to roll over the wound and leave a flat and very reduced scar.
In future posts I will continue to review other tools in my tool bag, and preovide suggestions on which options exists. If you have questions please feel free to ask.

 Share on Facebook
• Sunday, October 26th, 2008
Last BSF Convention in Port Canaveral I sat in as a spectator for a Sean Smith daiza carving workshop. I’m glad I did. Sean is the highest recognized diaza artist outside of Japan and is respected for his work in Japan as well.
After the workshop I was very motivated to create one of these little stands and it turned out pretty good. So I decided to try another one. The following steps are what I followed to create one. I hope it inspires others out there to give it a try.
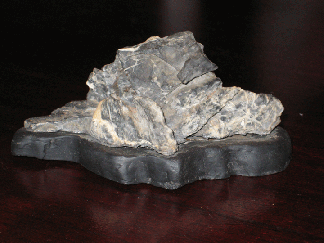
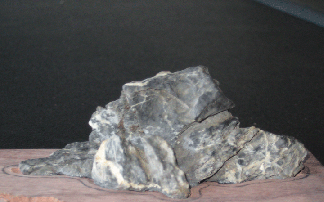
I bought a rock at the most recent CFBC meeting from a long time member, Marge Pierce. I didn’t like the stand, but the rock had potential. This is what it looked like when I bought it.
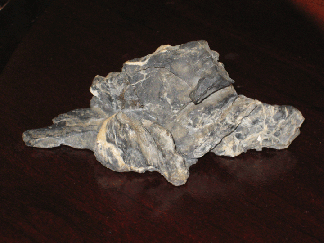
Here it is removed from the stand.
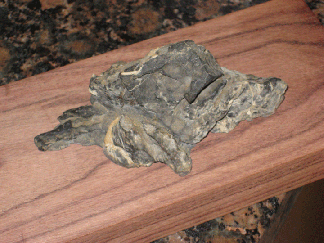
I used Rosewood for the daiza. This rock was an easy one because it had a flat base. So all you do is put it on the wood and trace around it.
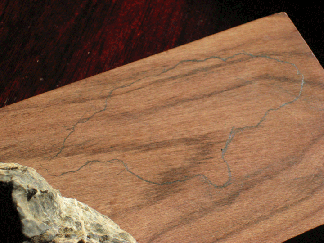
The outline of the rock
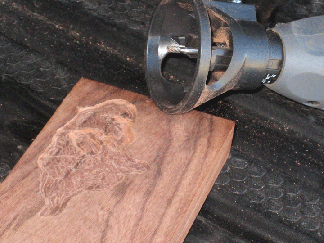
I use a dremel tool with a router attachment to remove the material about 1/8″. Just stay in the lines.
Now put the rock in its place and trace a line about 1/8″ around it to form the lip.
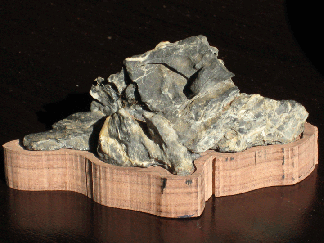
I used a jigsaw to cut out the diaza. Its starting to look good.
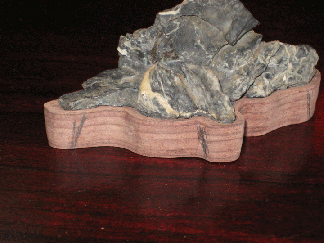
Now select the areas for the feet.
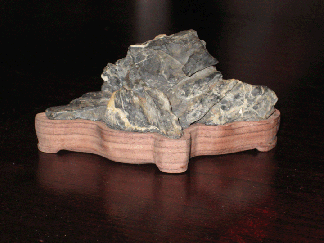
Here it is in its final form. It still needs a ton of sanding and handling to darken it up. That’s all there is to it. Give it a try

 Share on Facebook
• Saturday, October 18th, 2008
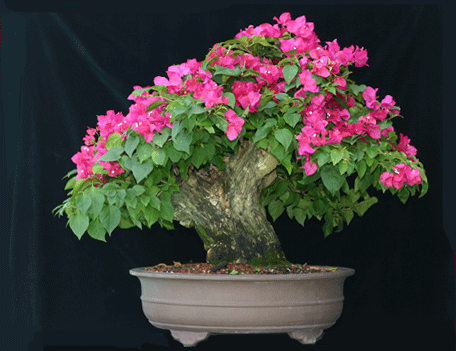
Wow! This tree has been so wonderful to work with, and so rewarding. The past two weeks this tree has put out another batch of flowers while the rest of my collection begins to prepare for dormancy in a few months. I think it is just showing off. In any case I knew I had to get some pictures now to submit for consideration for next year’s Epcot Flower and Garden Festival. In my opionion this tree is ready and will look great on display.

 Share on Facebook
• Saturday, September 27th, 2008
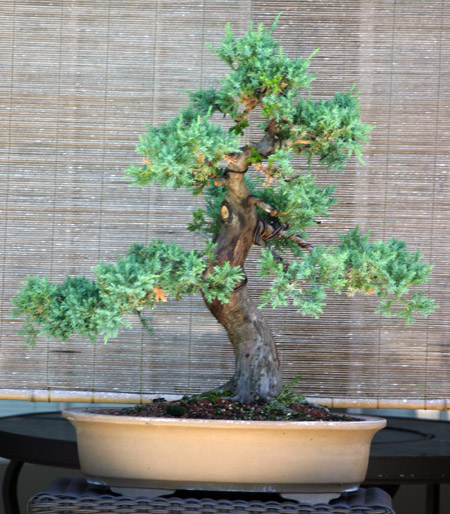
So I needed to do a few things to this tree becuase they really bothered me. First I repotted into a oval pot. The squared edges of the rectangular pot that it was in didn’t work with the curved lines of the trunk line. Also I removed a number of jins that really added nothing to the tree itself. Lastly I opened the tree up with wire and brought the branches lower so that it has a better branch structure. I plan to let it grow out for a while, but I like the look of this tree, and the new growth is already popping

 Share on Facebook


