• Monday, January 21st, 2008
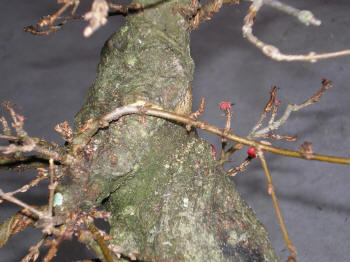
On the back side of this tree I pull a branch up and to the side to fill in an empty spot. The branch itself has done very well mu the un-natural movement of that branch has always bother me. To take care of this issue I decided to use an approach graft technique.
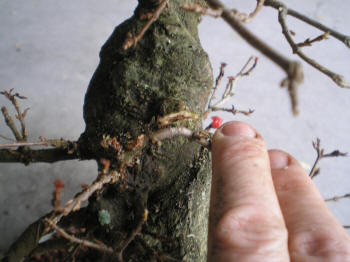
To start a carved a small notch in the trunk of the tree that the branch will fit into. It is about 1/8″ deep.
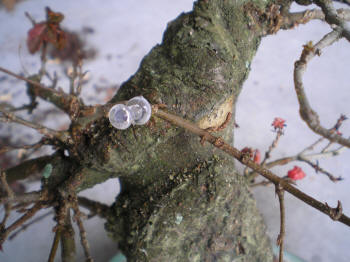
Finally the branch was slid into place and held with a push pin until the graft takes hold. The entire wound was sealed up with
cut paste
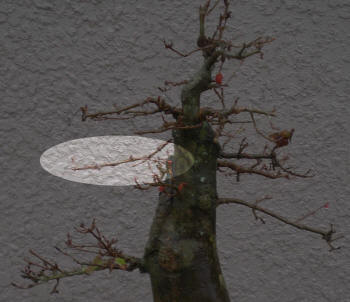
This is the branch that I performed the graft on
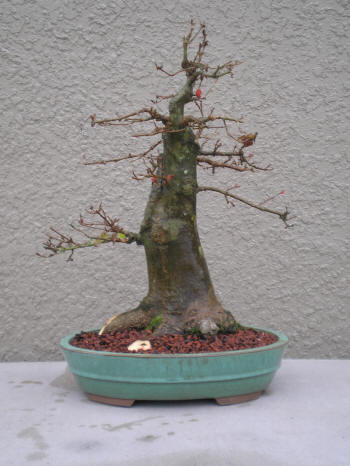
After a quick root prune and a new pot (actually a very old pot) the tree has taken on an entirely new look. This little guy is ready to pop out so Spring must be on its way. Jan 2008

 Share on Facebook
• Monday, January 21st, 2008
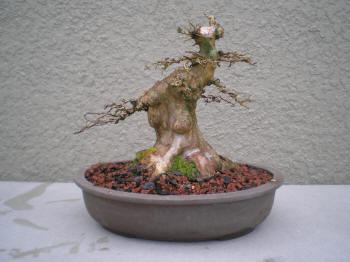
I finally wired this tree out for the first time since it was grafted. What a mess it was. However I was able to sort it out pretty well. The efforts should pay off in a much better branch structure this year.
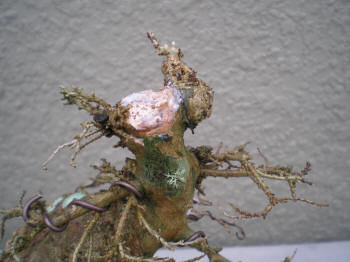
As I examined the top of this tree I realized that the graft on the top right side had been taken over by the tree and it was reverting back to its old foliage. No problem, I just need to do another thread graft later this year. I plan to take a shoot from the branch below and thread it through that mass at the top. This may actually work out better than the original plan. Jan 2008

 Share on Facebook
• Monday, January 21st, 2008
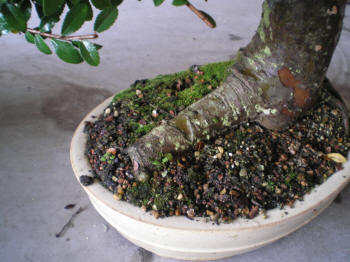
There have been some serious issues with this tree for a while. However it wasn’t until a tree critique held at our local club did I finally pay attention. First was this long surface root.
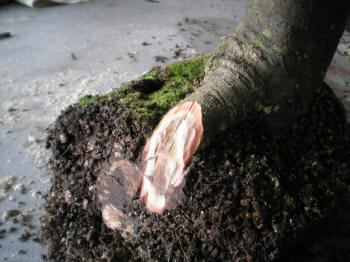
With a
grinder I reduced the root to a better size that did not distract from the look of the trunk.
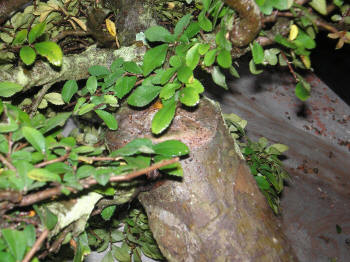
Second with the lack of a rounded taper from where the tree was cut over 6 years ago
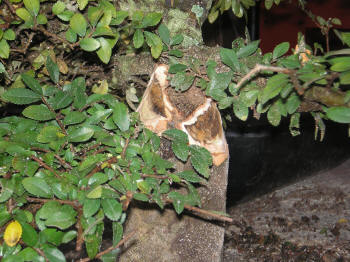
The
grinder was used again to give a more tapered look to the trunk from the initial cuts were made.
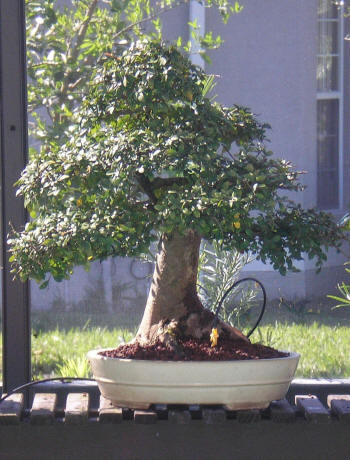
Lastly, the trunk was repotted in a more upright position. As you can see the top of this tree is not centered. This is not a problem, because the whole top of this tree is coming off soon in order to restyle the tree. There is no such thing as a finished tree. Jan 2008

 Share on Facebook
• Saturday, January 19th, 2008
I participated in a Sean Smith workshop during the Joy of Bonsai for building a miniature Tokonoma. It was a lot of fun and a great price.
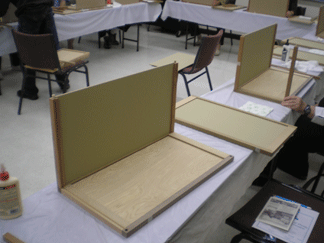
This was the first steps of constructing the Tokonoma. Sevrel types of woods were used, however I really can’t remember them at this time.
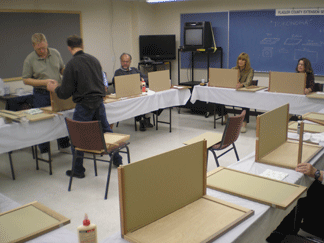
I love this picture! At first it looks like a computer course with people sitting around laptops, but they are only these wooden things. I like to think of it as an Amish Computer Training Class.
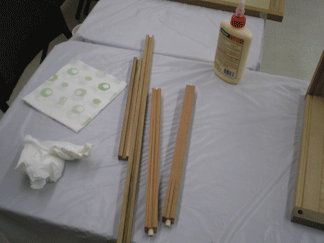
More supplies are shown here. It was put together with only glue. Really a great kit that Sean provided.
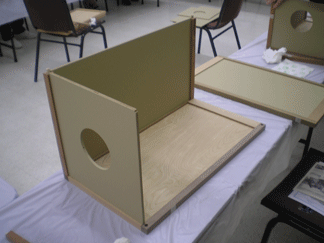
The side panel had a window that was later fitted with a bamboo treatment.
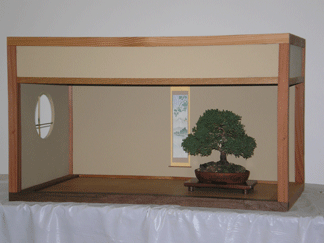
Here is the finished room with a tree from Louise Leister. Hard to tell the scale of it because it really looks like a full sized room.
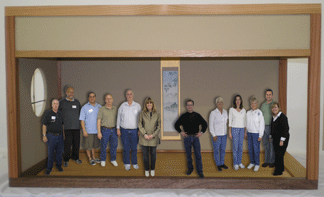
I had a little bit of fun with Photoshop after the class by inserting pictures of all of the people that took the class. This photo actually became a bit famous and is used in newsletters and advertisments for all sorts of things.

 Share on Facebook


